The Basics of Map Building:
Step One: The Idea
In this early step it's important to not get too bogged down with details, it is very easy to become paralyzed by the complexity of your final vision. It might help you to do what you can to
get your idea out of your mind and onto a medium.
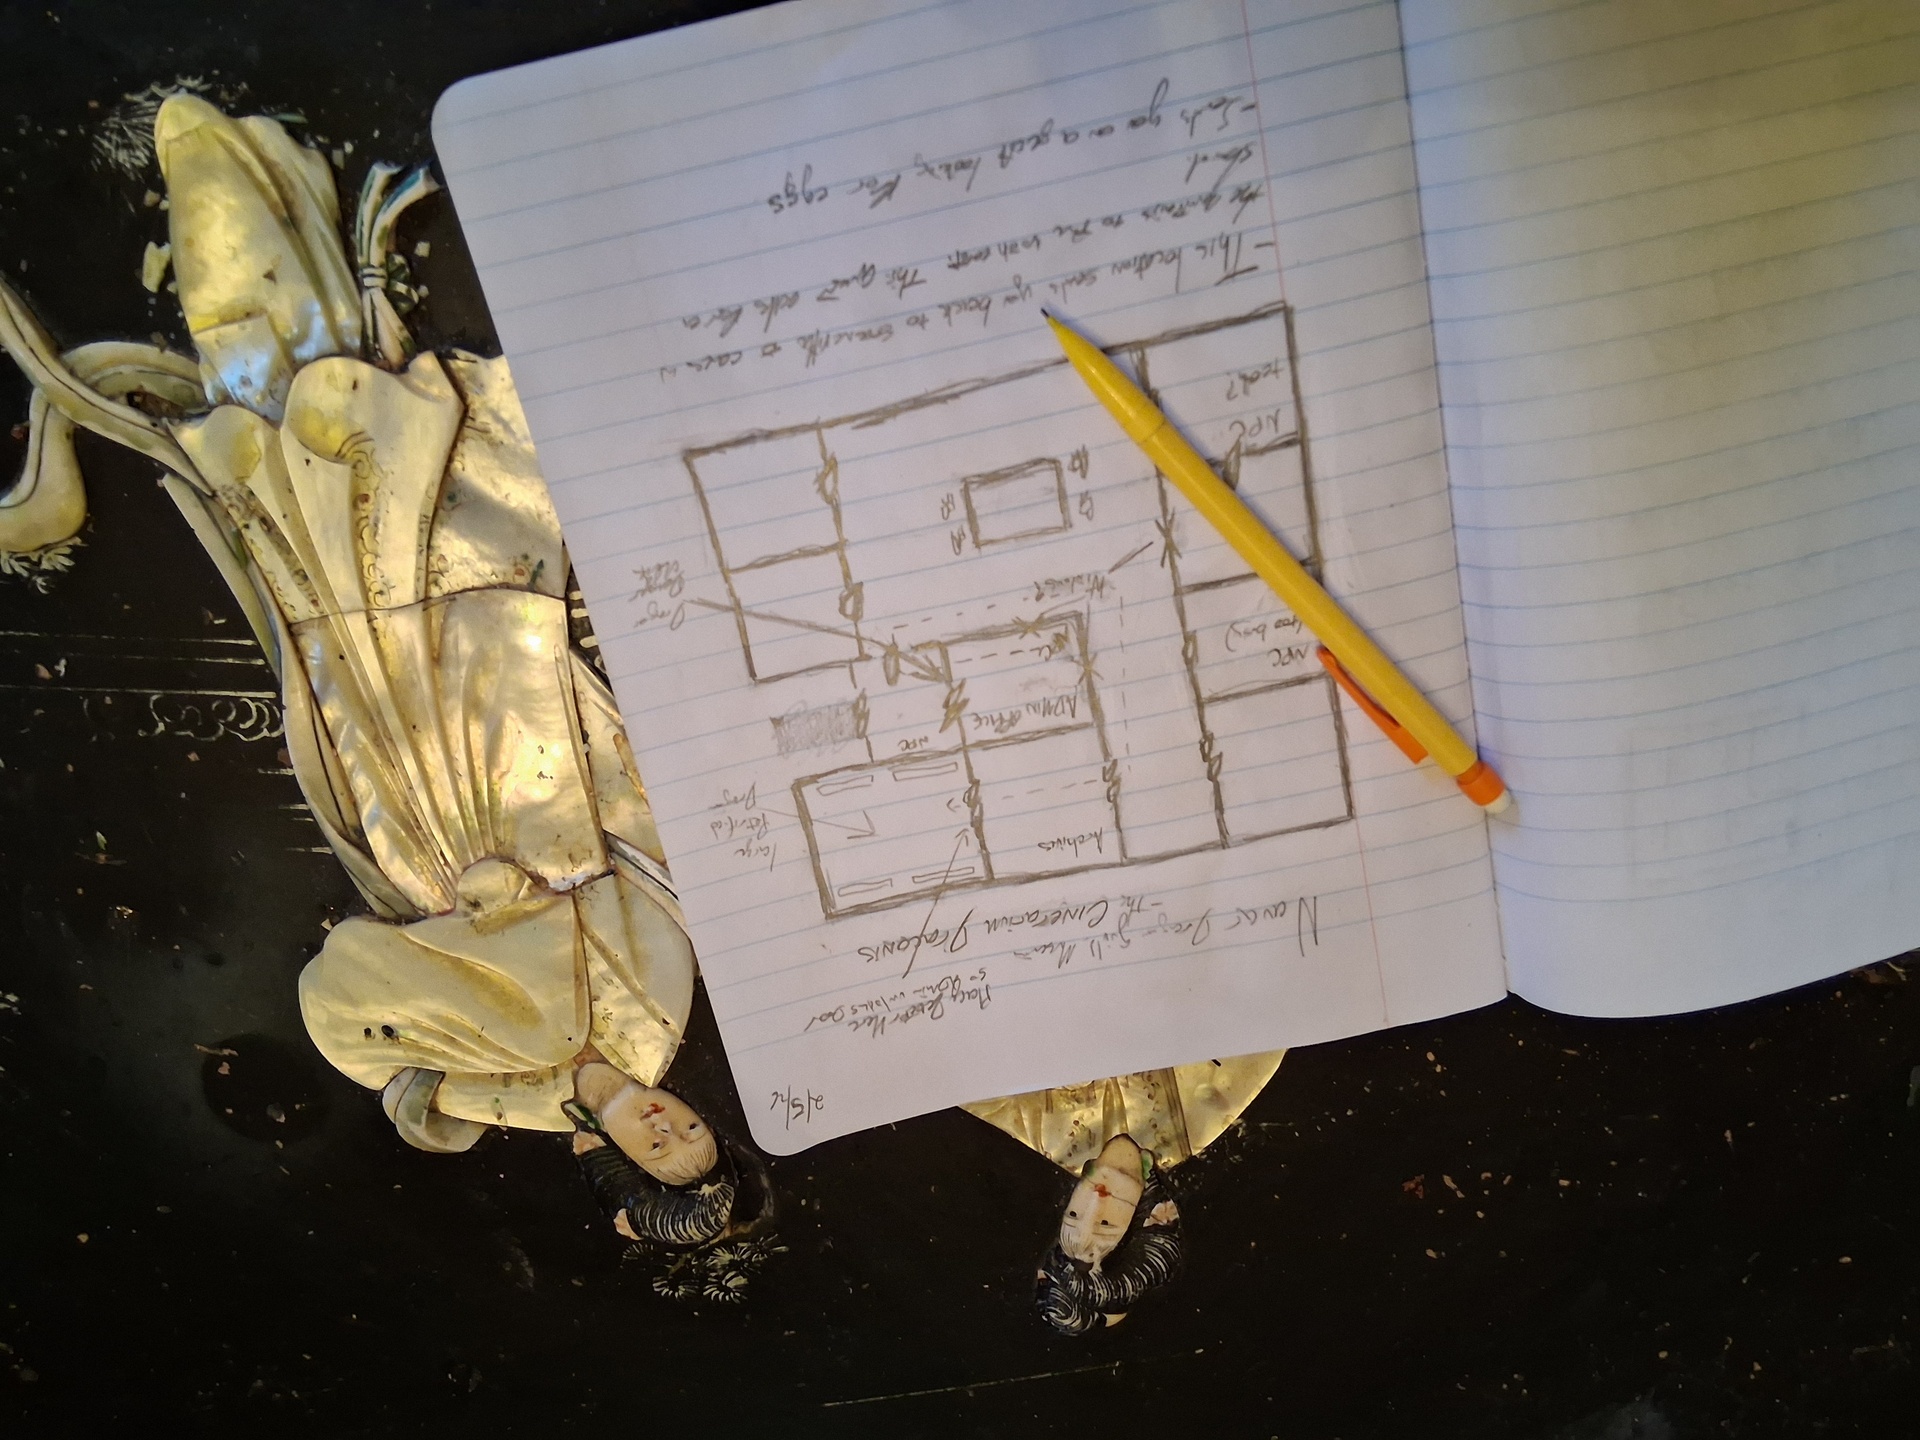
This is a sketch I did of a location I 'm designing for Heroworld. I've made
some general notes but am not worried too much about complexity,
additional details will come once I start placing assets in the editor.
Treat each design like a series of elements that independently support a
central ideal and construct your idea in logical steps that begins with what a
location must have, then began answering the question of what it would have
if the encounter you're describing played out. Do not force an element to be
interesting, that will happen on it's own when done right.
Once you feel like you've got a framework on paper that supports your idea
it might be a good idea to move on to the next step.
Step Two: Fire up Gridarta
Gridarta is the editor we use for generating our maps.
Download your editor and familiarize yourself with the UI.
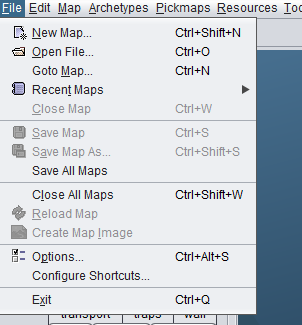
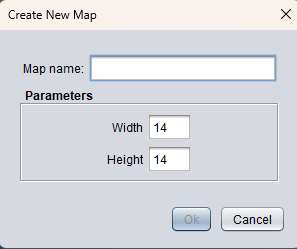
When you're ready go ahead and hit File>New Map
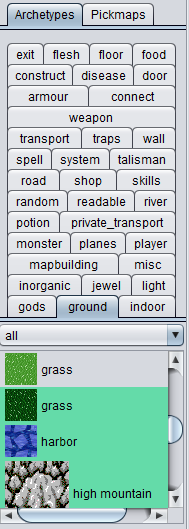
Step Three: Tools
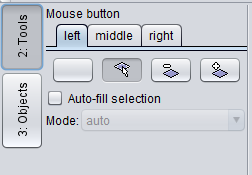
<---Take a moment to familiarize yourself
with these mouse adjustments by selecting
something at random from the Objects
menu and troubleshooting with these settings.
There are functions for mass selection, fill and
delete that you are able to set to specific buttons. Begin by experimenting with walls and
floors.
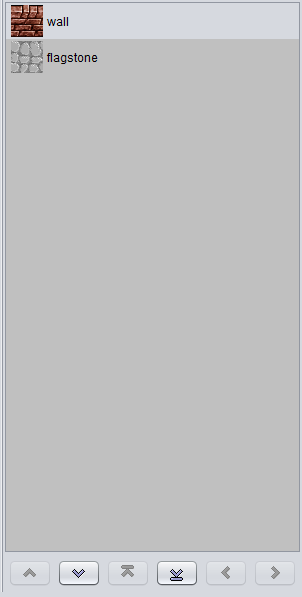
On the right side of you can manipulate ---->
The object you have placed.
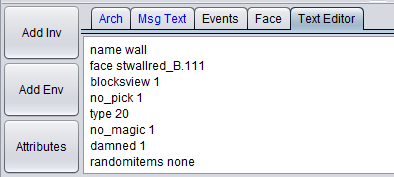
You can modify their order of placement, do a targeted delete with the Ctrl-Right Click command and edit the data of individual assets by either entering manually in the text editor or using the Attributes tab. There are times when you will need to perform manual
adjustments, these will be gone
over in later sections.
 ADDITIONAL READING